Certain vehicles would do well with a dual battery setup. The second battery helps power other electrical components. These components don’t necessarily mean it’s an essential part of the car. You can use a secondary battery to bring power to camping lights, a small fridge, or any other car accessories.
Continue reading to know the things you need to wire a dual battery system the proper way.
Know the Possible Locations of a Second Battery
Before you proceed with wiring a dual battery system, it’s critical to know the possible locations for the second battery. For instance, specific 4×4 vehicles may have unused areas ideal for the secondary battery kit. Specific cars may already come with a distinct design under the hood wherein a second battery might go.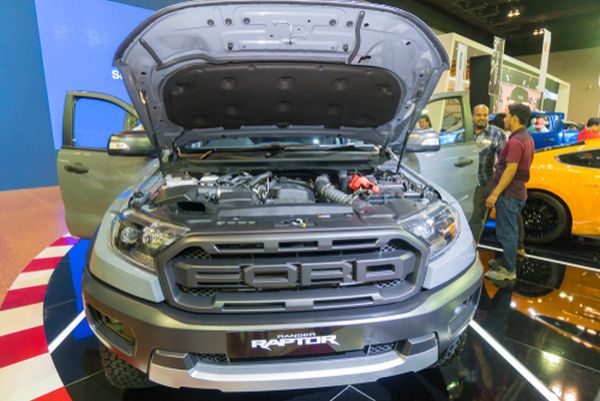
Still, many vehicles, even modern cars, don’t have enough room in the engine bay. Thus, you need to place the second battery in another location. Possible areas include the passenger compartment or under the load tray.
If you need to put the second battery in places other than the engine bay, it’s vital to pay attention to the placement of the wires. Also, make sure to put the battery type into consideration during installation and wiring to avoid future complications. You may look at the different battery types from REDARC to check which model suits your vehicle.
The Things You Need
You’ll need essential items to ensure the proper wiring of the second battery. These pieces of equipment are:
- A dual battery kit
- Drill & appropriately-sized bits
- Second battery
- Crimping tool
- Diagonal pliers
- Heat gun
- A marker or pen
Steps to Wire a Dual Battery System
After acquiring the necessary pieces of equipment for the wiring, it’s time to install the second battery in your car.
Here are the steps on how you should do it:
-
Step 1 – Mount the Second Battery
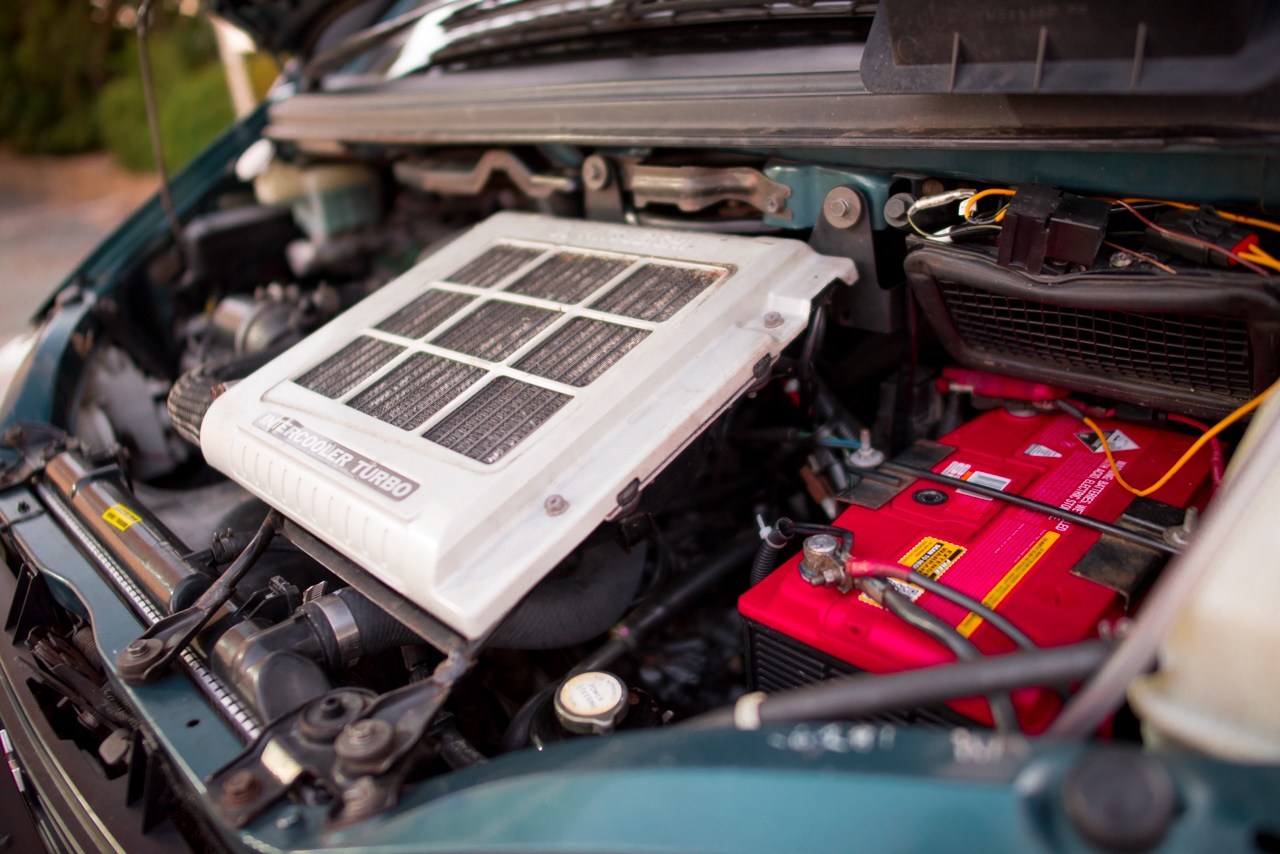
Once again, make sure the second battery is going to set on a good location in your car. It may be in your vehicle’s engine bay or other ideal sites. If you need a guide, you may look at the architectures of other cars like the 2020 Ford Bronco for ideas. Place the second battery in an area where the length of the wires in your kit will reach both batteries.
-
Step 2 – Temporarily Disconnect the Main Battery
Remove the cable connecting the negative terminal of the main battery from your car’s engine. This step is vital before proceeding with the task. If you leave the main battery connected with the car’s engine, you risk igniting the engine that may lead to issues.
-
Step 3 – Mount the Voltage Sensitive Relay (VSR)
The VSR is a computer controller for the two batteries to appropriately interact with each other. You need to mount this device in an easily accessible location. Also, keep it away from components that become too hot or move a lot. Still, place it as near to the main battery as possible.
-
Step 4 – Cut the Cable Length (if Necessary)
If the wires in your dual battery kit are longer than the length you need, cut them to match the appropriate distance.
-
Step 5 – Fit the Lugs
Find the open ends of the cable and fit the lugs. Then, strip 15 mm of insulation and crimp the lugs in place with the help of the crimping tool. Next, install the heat shrink on the lug. Heat it all together with the help of the heat gun to give these ends a waterproof seal.
-
Step 6 – Ground and Attach the VSR
Locate the black wire and attach it to the VSR. You need to earth this component and make sure to ground it securely.
-
Step 7 – Connect the Main Battery to the VSR
Use the cable from the main battery and connect it to the VSR terminal. Connect both components to the terminals marked with a red dot. The auxiliary battery’s cable will then go to the terminal labeled as “positive second battery.” Once you establish a proper connection, proceed by earthing the second battery.
-
Step 8 – Attach the VSR to the Mounting Plate and Attach the Negative Leads
Attach the VSR to the mounting plate by using two long screws. Secure the negative terminals afterward. Make sure to secure the negative terminal of the main battery first before the second battery.
Testing the Second Battery
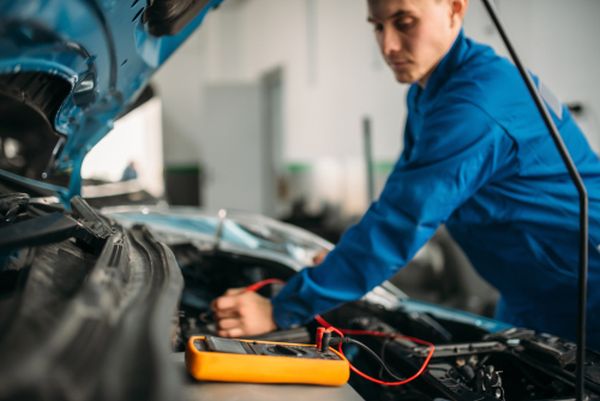
After making sure the connections are secure, it’s time to test the dual battery system. Use a standard multimeter for this final step. Make sure the voltage goes above 13.3 volts. Specific hybrids now use dual battery energy storage systems to help bring more power to devices. Still, you can’t take advantage of the system if you don’t establish a proper connection between the two batteries.